Install/Upgrade SQL 2008 R2 SP1 Manually
Before You Begin
- SQL Server Express 2008 R2 SP1 must be installed before SA-Announce. See instructions below.
- Syn-Apps Support requires that Management Studio be installed to troubleshoot any database issues.
- SQL Server Express 2008 R2 SP1 requires the following:
- .NET Framework 3.5 SP1. If your server does not have .NET Framework 3.5 SP1, download and install it – http://go.microsoft.com/fwlink/?LinkId=12055.
- Windows Installer 4.5. If your server does not have Windows Installer 4.5, download and install it – http://go.microsoft.com/fwlink/?LinkId=123422.
- Windows PowerShell 2.0. If your server does not have Windows PowerShell 2.0, download and install it –
http://support.microsoft.com/kb/968930
Install SQL on New Server
Important: DO NOT close any windows until the installation has completed. Closing windows prematurely may cause the installation to fail.
- Download SQL from Microsoft's Download Center webpage.
- Launch the installer.
Contents are extracted to a temporary location. - Click New Installation or add feature to an existing installation to start the Installation Wizard.
- Accept the license terms and click Next.
- Check all boxes and click Next.
- In the Instance Configuration window, change the Named Instance to SYNAPPSENT and click Next.

- No Changes are required In the Server Configuration page. Click Next.
- On the Database Engine Configuration page, change Authentication Mode to Mixed Mode.
- Obtain the SA-Announce default SA account password from
c:\Program Files (x86)\Syn-Apps\SA-Announce\Configuration\setupSQL.iniand enter it here.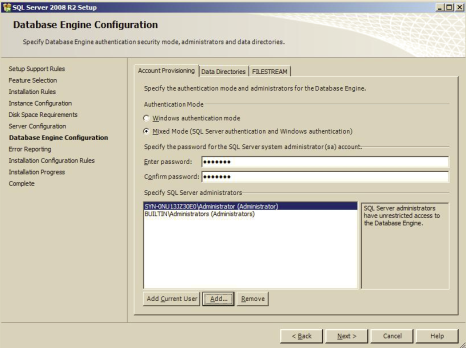
- Click Add Current User.
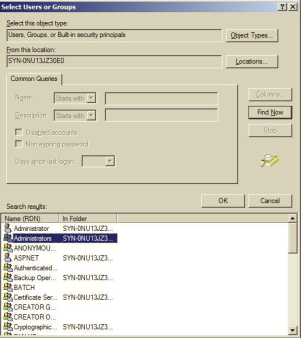
- Select the local administrators group and click OK.
- (Optional) Check or uncheck the Error Reporting box and click Next.
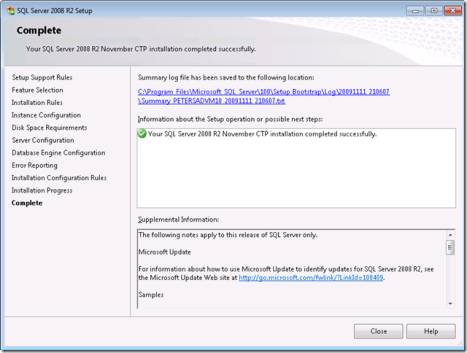
- Click Close and proceed to next section.

Enable Protocols in SQL Server Configuration Manager
- Launch SQL Server Configuration Manager from Start > Programs > Microsoft SQL Server 2008 R2 > Configuration Tools > SQL Server Configuration Manager.
- Click SQL Server Network Configuration > Protocols for “instance name”.
- Right-click TCP/IP and select Enable.
- Click OK on warning message.
- Click SQL Server Services in right pane.
- Right-click SQL Server (instance name) and select Restart.
SQL is installed and ready for use.